1
/
of
1
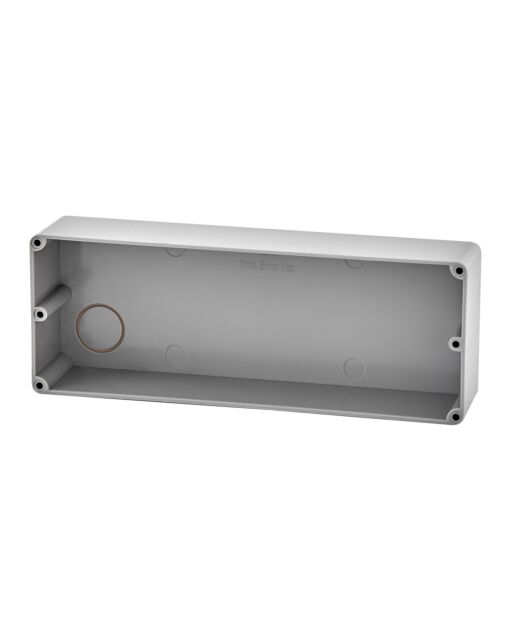
Taper Large Concrete Kit
Taper Large Concrete Kit
Brick & Step Light Concrete Kits by Hinkley Lighting
Regular price
$17.92
Regular price
Sale price
$17.92
Unit price
/
per
Shipping calculated at checkout.
| Brand: | Hinkley Lighting |
| Part Number: | CK1565GY |
| UPC: | 640665025194 |
| Category: | Brick & Step Light Concrete Kits |
| Dimensions: | 3"W x 8"H x 1.75"L |
| Weight: | 0.21 Lb. |
| Material: | PVC |
| Finish: | Gray |
ℹ️ Availability Notice
Product availability is subject to manufacturer inventory. If an item becomes unavailable after your order is placed, we'll promptly contact you with replacement options or a full refund.
Couldn't load pickup availability
Payment methods
Payment methods
Your payment details are transmitted securely during checkout. Card numbers aren’t stored, and full card information isn’t accessible.
Shipping
Shipping
Free shipping on orders $99+ within the contiguous U.S. (excludes Alaska & Hawaii). Orders under $99 ship via flat-rate ground for $14.99. Review our full Shipping Policy here.
Returns
Returns
Most unused items in original packaging may be returned within 30 days of delivery for a refund. Items labeled “Final Sale,” “Open Box,” or “Clearance” are not returnable. Shipping charges are non-refundable and a restocking fee applies. Review our full Return Policy here.
Share